

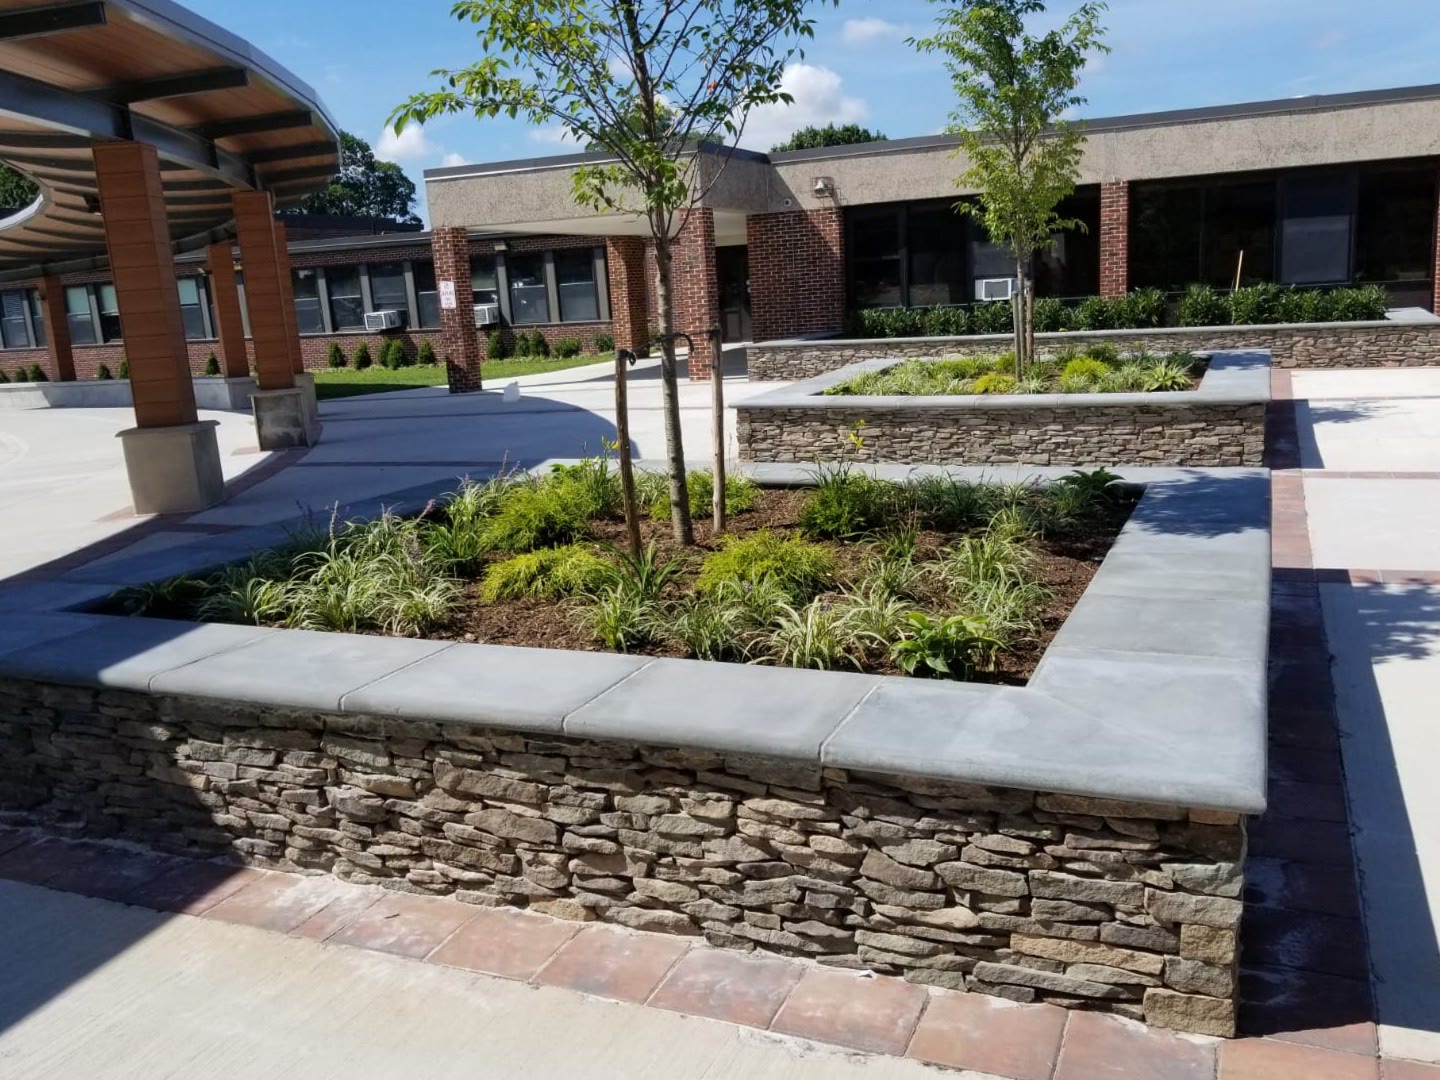
Manufactured stone veneer went on thousands of houses and townhouses in Staten Island, Long Island, Westchester and New Jersey from the 1990s on. It looks like real stone at a fraction of the weight and price. It also has a reputation, earned on a lot of those houses, for hiding water damage. Water gets behind it, soaks the wood sheathing and framing, and stays there, and the stone face can look fine for years while the wall rots.
This post covers how that happens, the signs to look for, how to find out what's going on behind the stone, and what the repairs involve.
How stone veneer is supposed to work
Manufactured stone is a lightweight concrete product. On a wood-framed house it's installed as a layered system:
- Sheathing (plywood or OSB) on the wood framing.
- A water-resistive barrier, usually two layers of building paper or house wrap, which keeps water that gets through the stone away from the sheathing.
- Metal lath fastened through the barrier.
- A scratch coat of mortar on the lath, then a setting bed of mortar, then the stone.
- A weep screed at the bottom of the wall, a metal strip that lets water draining down behind the veneer get out.
- Flashing at windows, doors, roof intersections and other openings, directing water out of the wall.
The stone and mortar absorb water. That's normal and expected. The system works only if the water that gets through can drain down behind the stone and out at the bottom, without reaching the wood. Every failure we see comes from something that stops that from happening.
The installation mistakes behind most failures
- No weep screed, or veneer down to the ground. Stone installed straight down into the soil, mulch, a patio or a driveway has nowhere to drain. Residential codes generally require clearance above the ground and above paved surfaces at the base of the veneer.
- Missing kick-out flashing. Where a roof edge meets a wall covered in stone, a small piece of flashing should kick the water from the roof gutter out away from the wall. Without it, roof water runs straight down behind the veneer. Roof-wall intersections are among the worst for hidden rot.
- Poor flashing at windows and doors. Water running down the window frame gets behind the stone at the corners. Rot below the bottom corners of windows is the classic pattern.
- One layer of barrier, or a damaged one. Mortar can bond to a single layer of paper and wick water through it.
- No sealant joints. Stone butted tight against window trim, doors, light fixtures, hose bibs and vents without a sealant joint lets water in at every one of them.
- Flat tops. Wall caps, sills and ledges that don't slope hold water on top of the veneer.
Signs of water behind the stone
Outside:
- White staining (efflorescence) on the stone or mortar, especially below windows and at the base. Our efflorescence post explains what it means.
- Dark areas that stay wet long after rain.
- Cracked mortar joints, loose stones, or sections that bulge out.
- Rotting or soft window and door trim and sills.
- Veneer that runs into soil, mulch or paving with no visible weep screed.
- Roof edges meeting a stone wall with no kick-out flashing.
Inside:
- Water stains, peeling paint or bubbling drywall on walls behind the stone, especially below windows.
- Musty smells or mold in rooms on the stone side of the house.
- Soft or stained wood at the rim joist or sill plate, visible from an unfinished basement.
- Carpet tack strips or baseboards that are damp or rotted along an outside wall.
- Insects, which follow wet wood.
None of those signs alone proves damage, and serious rot can exist with none of them visible. That's why testing matters.
How to find out what's behind it
Moisture probe testing. The standard investigation is to drill small holes through the veneer at the most likely trouble spots (below window corners, at roof intersections, along the base and around penetrations) and take moisture readings in the sheathing behind. A tester also notes whether the probe meets solid or soft wood. The holes are sealed afterward. It gives you a map of where the wall is wet.
Infrared imaging and interior meters can help pick spots to probe, but they don't confirm what's happening in the sheathing on their own.
Test openings. Removing a small section of stone at the worst spot shows exactly what the barrier, flashing and sheathing look like. It's the most certain test, and the area has to be repaired properly afterward.
If you're buying a house with manufactured stone, probe testing before you sign is money well spent. Our post on masonry checks before buying covers the rest of the building.
The repair options
Localized repairs
When testing shows damage is limited to specific areas, those areas can be opened and fixed: stone removed, rotted sheathing and framing replaced, new barrier lapped into the existing one, the missing flashing or kick-out installed, and stone reinstalled. Salvaged stone is reused where possible, but matching manufactured stone from a different production run can be difficult, so expect some visible difference.
Retrofitting the base
Where veneer runs into the ground or paving, the bottom courses can be cut back, a weep screed installed with proper clearance, and the grade lowered or the paving adjusted. It's one of the most useful repairs on houses where the base is the main problem.
Full removal and reinstallation
When testing shows widespread wet or rotted sheathing, piecemeal repairs usually chase the problem around the house. The lasting fix is to remove the veneer, replace damaged sheathing and framing, install a new barrier with a drainage layer (a mat or gap that lets water drain freely behind the stone), flash every opening properly, add a weep screed at the base, and reinstall new stone. Some owners take the opportunity to switch to a different cladding.
What it costs
Planning ranges for houses in the New York area.
| Work | Typical range |
|---|---|
| Moisture probe testing | A few hundred dollars to about $1,500 |
| Kick-out flashing retrofit at a roof intersection | About $500 to $1,500 per location |
| Localized repair around a window or door | About $1,500 to $5,000 each, more with framing damage |
| Base retrofit with weep screed and clearance | Roughly $40 to $100 per linear foot |
| Full removal and reinstallation with drainage layer | Roughly $25 to $60+ per square foot of wall |
The unknown in every veneer job is what's behind the stone. Contracts for this work should include a unit price for replacing sheathing and framing found to be rotted, so the cost of hidden damage is set before the wall is opened.
What doesn't work
- Sealing the stone. Most water gets in at flashing, trim, penetrations and the base, not straight through the stone face. A sealer fixes none of those, and some slow down the drying of water already in the wall.
- Caulking every joint. Sealing the bottom of the wall or the weep screed shut traps water inside.
- Replacing the interior drywall only. The water is coming from outside. New drywall just hides the next round of damage.
- Patching cracked joints without testing. Cracked joints are often a symptom of a wall that's moving because the wood behind it is wet.
Real stone and thin brick
Natural stone veneer and thin brick installed with the same adhered method have the same requirements and fail in the same ways. Full-thickness stone and brick walls with an air space behind them work differently and drain better, but they need their own flashing and weeps too. Our post on water leaking through brick walls covers those.
Have your veneer checked
NYC Superior Construction repairs and replaces stone and brick veneer across New York City, Nassau, Westchester and Rockland counties, and Central and North New Jersey, including the flashing, weep screeds and sheathing behind it. If you're seeing stains, loose stone or signs of water inside, send us photos of the wall and the problem areas, and we'll tell you where we'd test first.
Frequently asked questions
How do I know if there's water damage behind my stone veneer?
Staining, damp areas, cracked joints, loose stones and rotting trim outside, and stains, peeling paint or musty smells inside. Probe testing confirms it.
Why does manufactured stone veneer leak?
The stone absorbs water. Leaks come from missing weep screeds, veneer down to grade, missing kick-out flashing, poor window flashing and too little barrier behind it.
Can stone veneer water damage be repaired without removing all the stone?
Often, when damage is localized. Widespread wet or rotted sheathing usually means full removal and reinstallation.
How much does it cost to fix water damage behind stone veneer?
A few hundred to about $1,500 to test, a few thousand per localized repair, and roughly $25 to $60+ per square foot for full remediation.
Will sealing the stone stop the leaks?
Usually not. Water mostly gets in at flashing, trim and the base, and some sealers slow drying.
This article is general information. Prices are planning ranges for the New York area, not quotes. Hidden water damage can only be confirmed by investigation, so have the wall tested before deciding on a repair. Last reviewed: October 4, 2026.